Well, this is an addition to my previous texture workshops which are very basic. I thought it was time I shared a few more tricks to help get people started on making their own textures for sculpted prims and, of course, the same tricks apply to regular prims.
My previous offerings are available ....
No. 1
hereNo. 2
hereNo. 3
hereNo. 4
hereIn this one I thought I would go into the normal ways I make a texture seemless. That means that the two sides or edges tie in perfectly, sometimes all 4 edges need to match up, it depends so much on how it will be used.
Let’s start with a painting, any form of pattern making would do, spraypaint Photoshop or Gimp, or any physical paper colouring instrument could be used, pencil, crayon etc.
So....here are the steps for the easiest seemless tex...
1. scan the painting or drawing onto your computer.
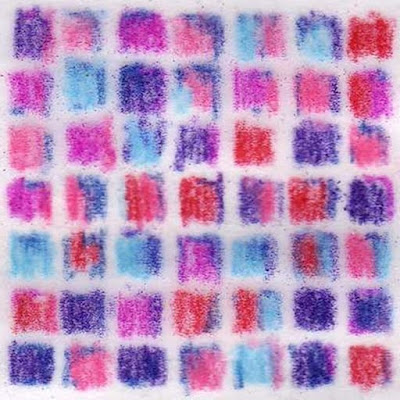
2. increase the contrast, or posterise, or generally clean up, however you like.
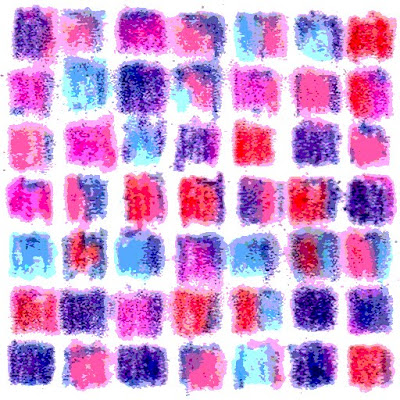
3. in filters, under Map in Gimp, select..”make seemless”....scale the image to 512x512 or 1024x1024, and upload to SL as a TGA or PNG file, whatever you prefer.
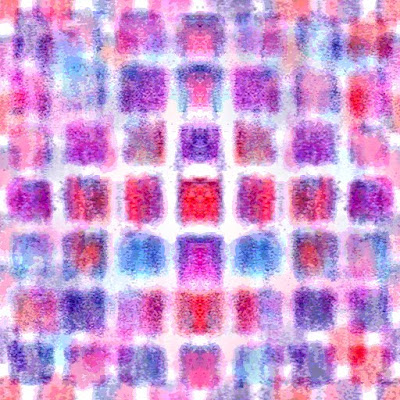
the downside to this is of course, that with a pattern you loose some or the distinctive features of your original design as pixels get thrown around the page by the filter....Although you can start to work on this further to enhance and improve what you have lost.
..but...there are things you can do....

..increase the contrast and posterise....

...use 'Edge Detect' (Sobel)....
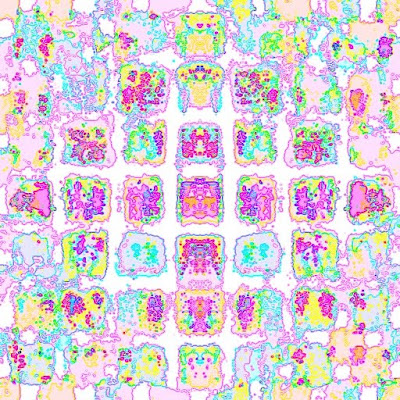
...and Invert and generally bump up the saturation a bit...... and you have an interesting tex.
Now....another method...
Repeat steps 1 and 2 shown above....
then ....3 ... make a duplicate layer.
4. Transform, Flip Horizontal that layer, and make 50% Transparent.
5. Form a new Layer from Visible. (all these names are from Gimp, PS may have slightly different names for the same idea.) and your new image is now symmetrical left/right.
6. Repeat the process but Flip Vertical, ( Transform, Flip Vertical that layer, and make 50% Transparent) and your texture is now symmetrical left/right and above/below. (That's what a seemless texture means.)
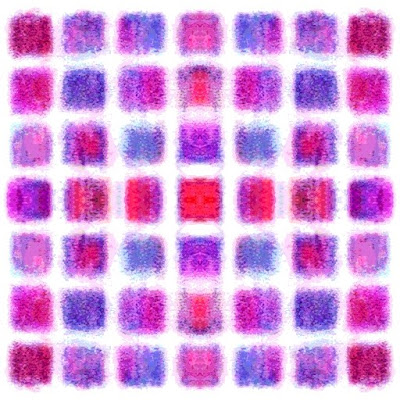
and....you can go further...
I would suggest you use Emboss filter rather than bump mapping in SL, you will have a far better result and more control....this is how I do it..
7. make a duplicate layer and choose Emboss from the filters. You will have to play around with the various tools you have there, but my aim (remembering that less is more) is to create a silver coloured embossed image with a slight depth... fool about and see..
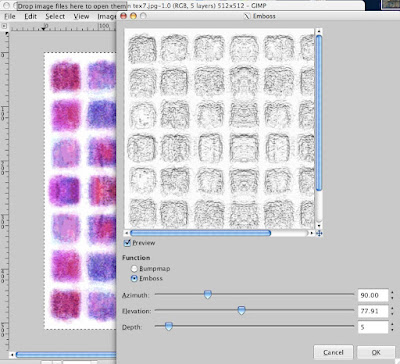
8. reduce the transparency on this layer to 50%
9. form a new Layer from Visible, and, opening your colour manipulation thingy, bump up the Saturation to 100%..
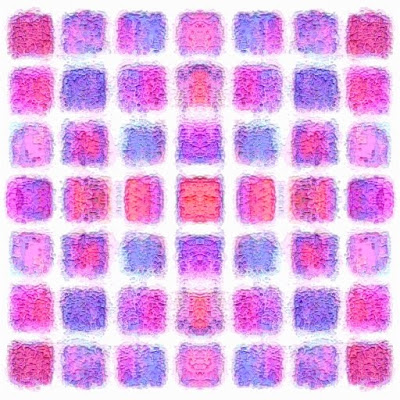
Now, that's a nice tex and one you can go on to make into an alpha if you need to.
One more method.... and one I employ when I don't want any loss of definition from my original painting..is to 'butterfly' the image....it's done like this...
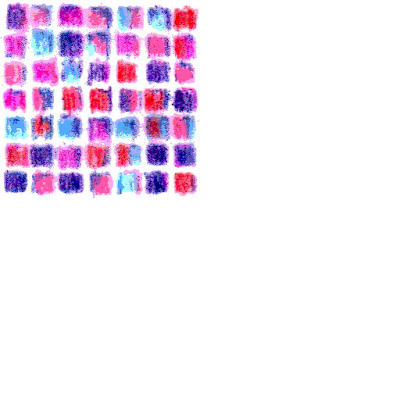
1. copy your image onto a new (transparent) file twice as wide as the original..(.and twice as tall)
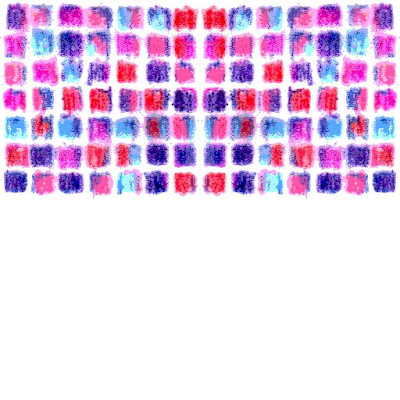
2. duplicate layer and flip horizontal...
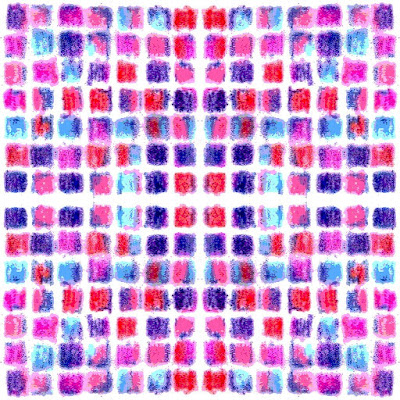
3. duplicate layer and flip vertical....
need to crop a bit to make the white band down the centre a little less obvious... and maybe Emboss....
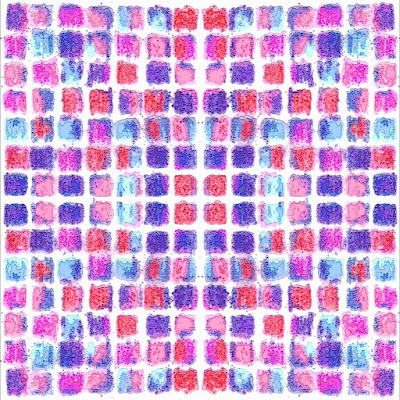
Please note the deliberate mistake (heheheh...liar) of the slight black line down each side of the tex. This line is formed thro the Emboss filter and is hidden in Gimps default setting where the layer boundary is highlighted with a stupid dotted line. It obviously needs to be removed.....
like so...then...maybe alter the hue a bit...
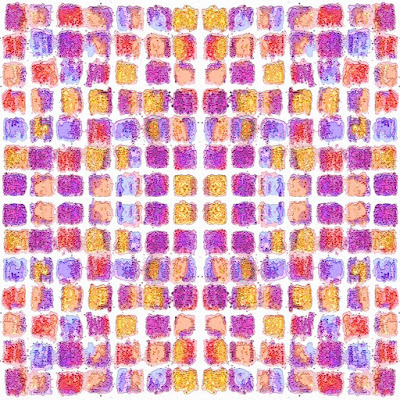
..and...if that looks OK, you can be sure that Invert will look good too..
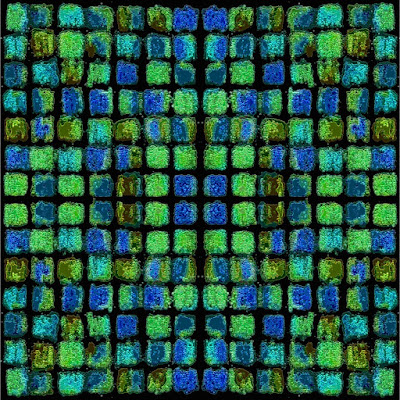
so....no excuses now....get creating. From this one texture, thro an imaginative use of Gimp or PS, you can create a dozen useful texs that will last you years, you'll find, often, that they look great on things you had never imagined doing when you first made them...
Get a few hundred of these and you will have a distinctive style....
enjoy...
:))


 Posts

